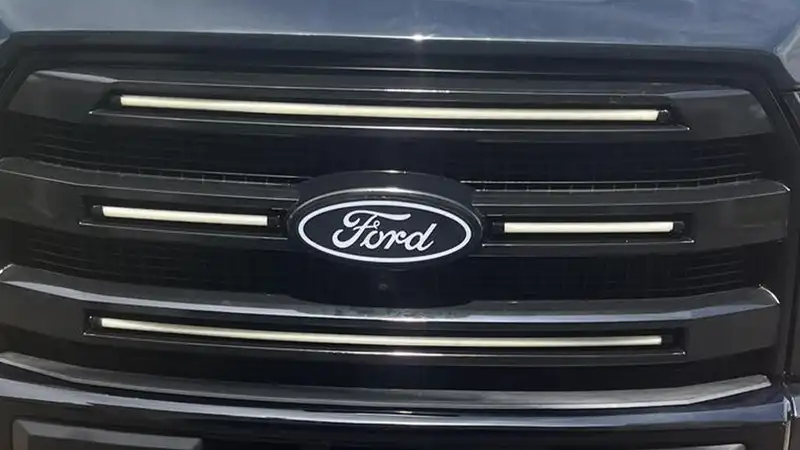
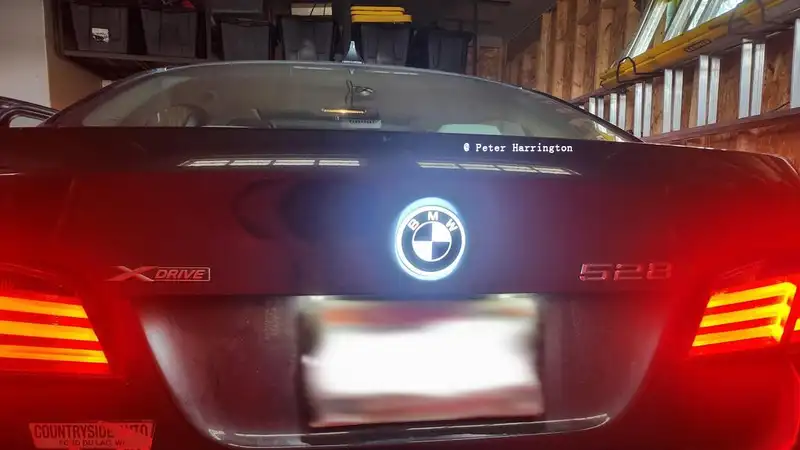
Creating custom grille badge lights is a fusion of automotive passion and craftsmanship, merging technology with personal style. This process can transform the front grille of a vehicle into a standout feature that not only illuminates the night but also makes a bold statement. Here’s an in-depth look at how these unique automotive enhancements are brought to life.
Conceptualization
Idea Generation: The journey begins with a concept. Whether it’s a brand logo, a personalized emblem, or a unique design, the first step is to visualize what the final product will look like.
Design Sketching: Sketches are made to determine the size, shape, and intricacy of the grille logo. This is also the stage where decisions about the type of lighting (LED, neon, etc.) are made.
Design Development
CAD Modeling: Using computer-aided design (CAD) software, the sketch is translated into a 3D model. This allows for a more accurate representation and the ability to make precise adjustments.
Material Selection: The choice of material is crucial. Acrylic, polycarbonate, or metal are common choices due to their durability and flexibility in shaping.
Prototyping
Cutting the Base: The 3D model serves as a template for cutting the base material. This can be done with a CNC machine, laser cutter, or even a skilled craftsman using traditional tools.
Electronics Integration: The next step is to integrate the lighting elements. LED strips or individual LEDs are carefully placed and wired according to the design.
Prototyping: A prototype is created to test the fit, function, and overall appearance of the front grille emblem light. Adjustments are made as necessary.
Production
Refinement: Based on the prototype, the design may undergo further refinements to ensure it meets the desired quality and performance standards.
Molding or Fabrication: Once the design is finalized, the production process begins. This could involve molding for plastic components or fabricating the metal parts.
Assembly: The individual components, including the logo base, lighting elements, and any additional decorative pieces, are assembled.
Finishing Touches
Painting and Detailing: If the logo requires color, it is carefully painted or coated. Details such as chrome effects or specific color schemes are applied at this stage.
Clear Coating: A clear coat is applied to protect the paint and provide a glossy finish. This also helps in sealing the electronics from the elements.
Quality Control: Each unit undergoes rigorous testing to ensure that the lights function correctly and the overall construction is durable.

Installation
Mounting: The final product is then mounted onto the vehicle’s grille. This is typically done using brackets, clips, or adhesive specifically designed for automotive use.
Wiring: The electrical connections are made, linking the logo light to the vehicle’s electrical system. Care is taken to ensure all wiring is safe and secure.
Final Testing
Functionality Check: Once installed, the logo light is tested to ensure it illuminates correctly and that there are no issues with the electrical connections.
Aesthetic Evaluation: The final look of the logo light is evaluated to make sure it complements the vehicle’s aesthetics and meets the customer’s expectations.
Customer Feedback
Review and Adjust: After the installation, customer feedback is sought to understand their satisfaction with the product. This information can be invaluable for future improvements.
Conclusion
Creating custom grille logo lights is a meticulous process that combines artistic vision with technical precision. From the initial spark of an idea to the final installation, each step is crucial in crafting a product that not only enhances the vehicle’s appearance but also provides a unique and personalized touch. Whether it’s for personal use or as a signature brand statement, custom grille logo lights are a shining example of automotive customization at its best.

